

Getting started with student notebooks
Notebooks, or composition books, are a great way for students to organize their work by subject area. They are also a great teaching tool for table of contents, note taking, and accountability. Plus, you and your students can look back and see all that’s been accomplished over the year!
Here’s a look at how we have set up notebooks:
1. Have a separate notebook/composition book/journal for each subject area.
2. Have the student label each one on the front with the her name and subject area.
3. Decorate the notebook with items relating the the subject that will go inside. Drawing on the cover, creating and gluing photos or magazine cutouts on, or a combination all work to inspire the child to get excited about the topic!
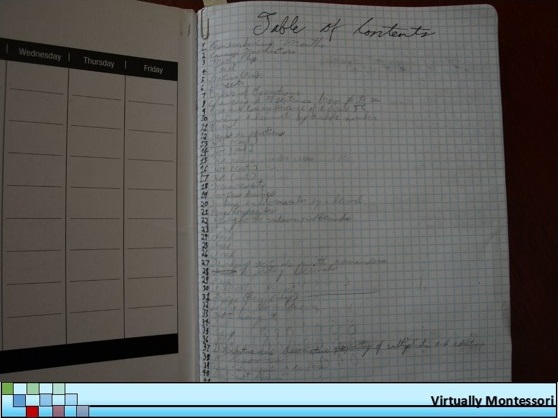
4. Have the student create a table of contents. Label “Table of Contents” on the first page.
5. Now have students number each line on the left side margin.
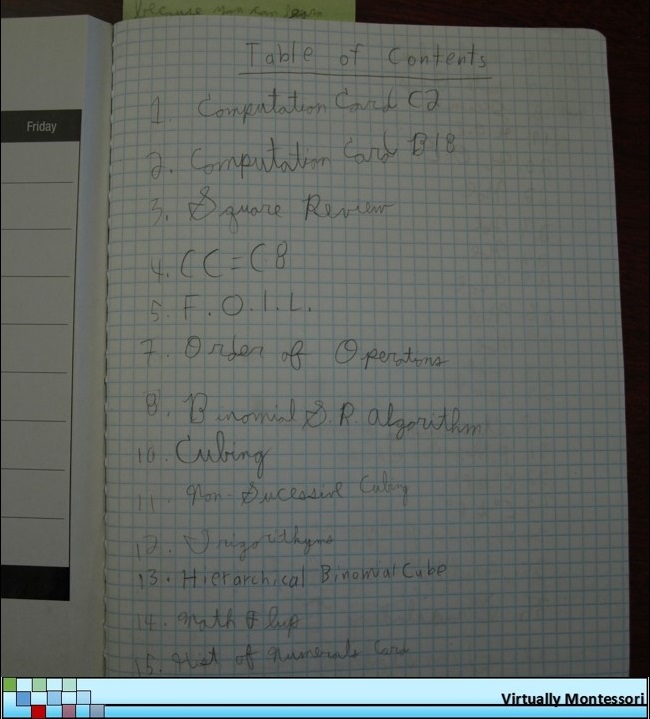
Another Table of Contents example in a student notebook
6. Using a paper clip, take the first 4 pages or so and clip them together. This will be place holder pages for extra TOC entries later.
7. Time to number the pages! Skipping the clipped pages, have students begin numbering each page. Some people like to number just the right-side pages, while others prefer to number the front and back. I leave the choice up to the students myself.
This does take quite a bit of time, so sometimes we break this steps into multiple activities, either on separate days, or during parts of those first back-to-school days.