Alright, let’s pick back up where we left off last time. Hopefully you’ve got your content created and are ready to go!
I typed up my content for my card sort activity and here are the 14 words I decided to use in my alphabetical order card sort, set 1:
- actual, benefit, century, demonstrate, example, flexible, globe, however, intelligent, measure, opposite, predator, respect, tradition
Continuing the steps from part 1…
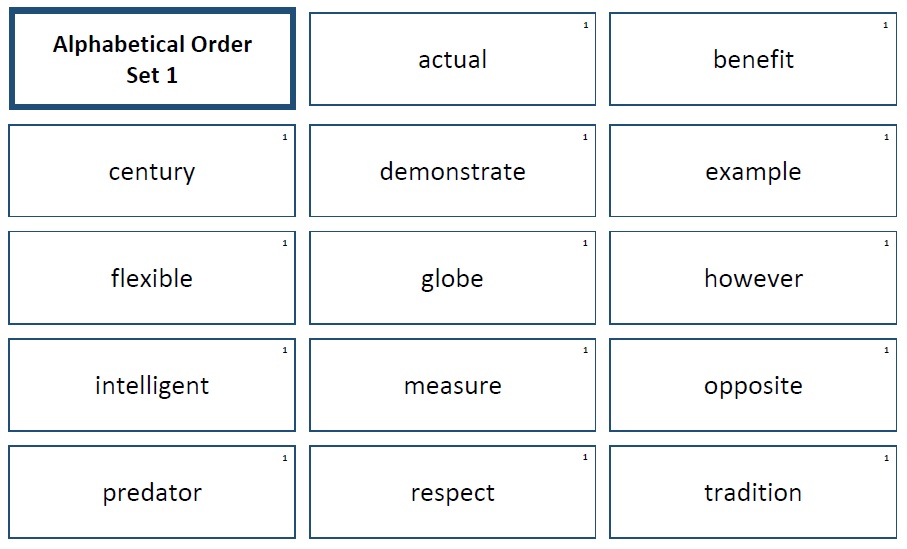
3. Now I will create a table in either Word or PowerPoint to format the cards ( I chose Word because it’s easier for me to format tables). I find that creating cards that are about 3″ wide by 1″ – 1.5″ high are large enough to handle easily by children but aren’t so small that they’ll be easily lost. I also leave about .15″ – .25″ between each card so there’s a place to cut in between each card (using the “cell spacing” feature in Word’s table properties).
4. Add your content to the table. When choosing my font size, I like to make sure the word is beefy enough for the space. I used Calibri, 22 pt font on my cards. I usually play around with the font size to make sure the cards that have the longest words will fit nicely, with plenty of white space.
I also created a header card (Alphabetical Order Set 1) that can be used to identify the set if they’re not in a marked container. This header card can also be set out sort of like a title when the child uses the material.
5. Now decide if you want colored borders around each cell and if so, apply those. I chose to do a dark blue for mine.
6. I also added a number to the corner of each card using a text box (“1”). This signifies that each card belongs to card set 1. This is helpful (especially if you don’t use colored borders or use the same color borders) to keep the cards that are part of a set together. Trust me, it’s a huge pain to find a solo card on the floor and not know which card set it goes belongs with!
Here’s what my finished table looks like:
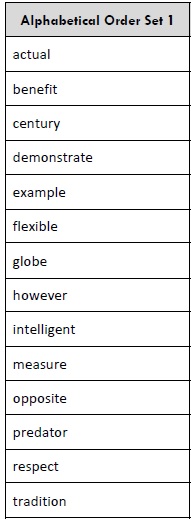
7. Create an answer key. This is extremely helpful if you want the children to be able to use this material independently! Here’s what mine looks like:
8. Proofread and edit your materials (again, something I’ve learned the hard way after printing on cardstock – eeks!).
8. If everything looks good to go, print! You can then cut, laminate, and you’ll have a nice new material to add to your classroom.
Go back to part 1 of “How to Create a Card Sort Activity.”


